Sushi Photoshoot: How to Photograph Sushi Like a Pro
July 10, 2026 · 8 min read
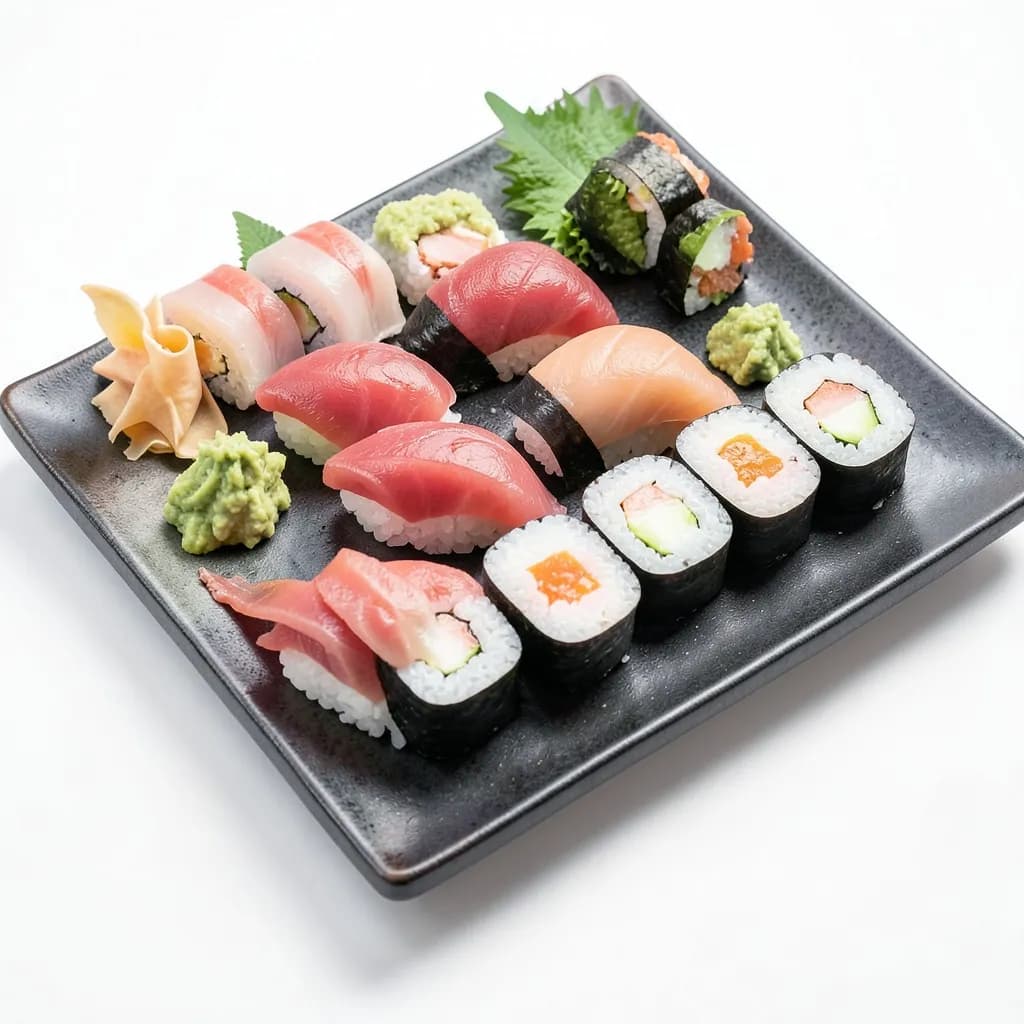
Sushi is one of the most photogenic foods in the world — and one of the most challenging to photograph well. The glistening fish, precise cuts, and delicate plating demand a level of attention that separates amateur snapshots from professional sushi photography. Whether you're a restaurant owner, food blogger, or sushi chef, this guide covers everything you need for a stunning sushi photoshoot. Planning your sushi photoshoot correctly saves time and produces better results.
Why Sushi Photography Is Uniquely Challenging
Sushi deteriorates visually faster than almost any other food. The fish dries out, rice hardens, and nori loses its crispness — all within minutes. This means every sushi photoshoot needs to be fast, planned, and efficient. Prepare your camera setup, lighting, and backgrounds before the sushi is plated.
Lighting for Sushi Photography
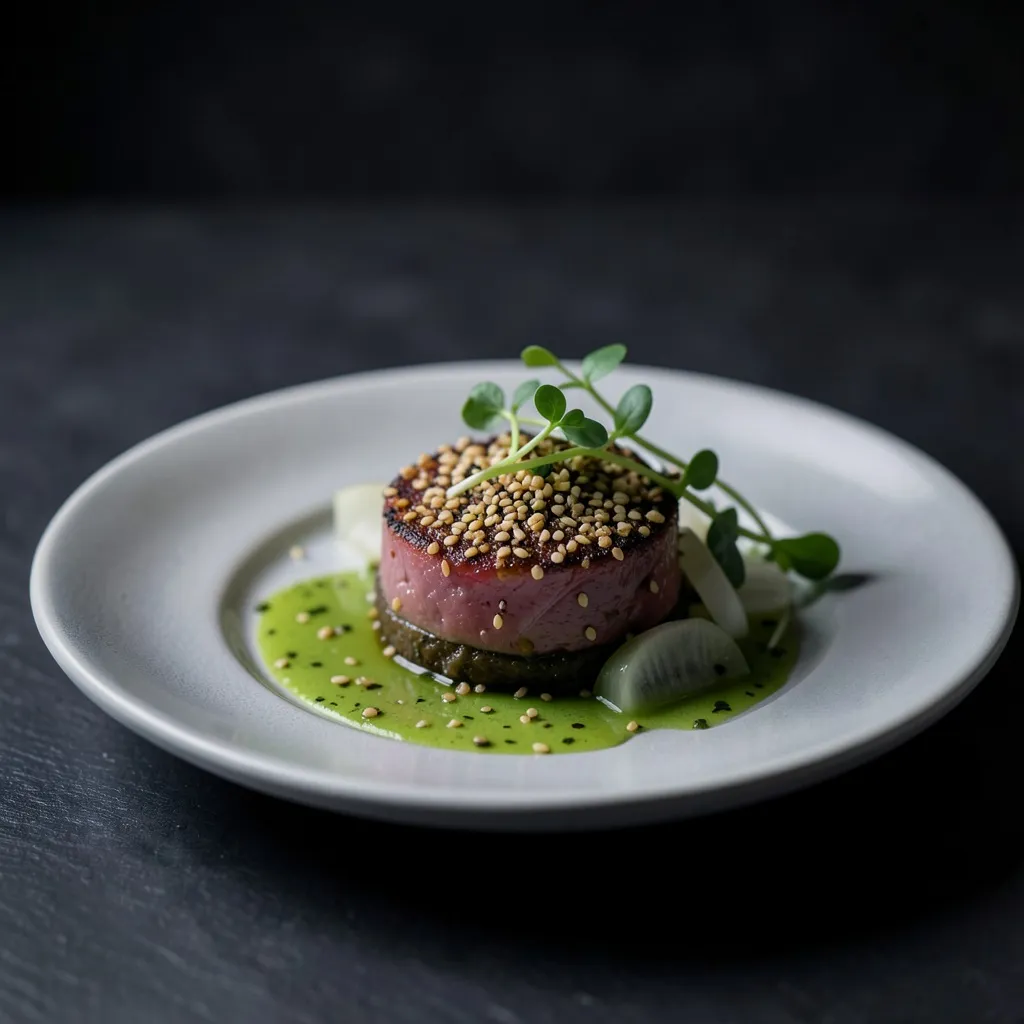
The golden rule of any sushi photoshoot: sidelight to catch the sheen. The natural oils and moisture on fresh sashimi create beautiful highlights when light hits from the side at a 45-90° angle. Avoid front-on lighting, which flattens the texture. Avoid direct overhead light, which creates harsh shadows in the crevices between nigiri pieces.
Natural window light is ideal. Place your setup near a north-facing window for soft, consistent light. If shooting in a restaurant dining room, a portable LED panel with a diffuser gives you control over direction and intensity.
Best Angles for Sushi Photos
- 45° angle: The classic sushi shot. Shows the profile of nigiri and the layers of maki rolls. Best for single pieces or small arrangements.
- Overhead (flat lay): Perfect for sushi platters, bento boxes, and omakase spreads. Captures the full arrangement and color composition.
- Eye level: Dramatic and intimate. Works beautifully for individual nigiri pieces where you want to emphasize the fish draped over rice.
- Close-up macro: Shows the grain of the fish, individual rice grains, and the precision of the chef's knife work. Powerful for social media.
Styling Tips for Sushi Photography
Sushi styling is minimalist by nature — let the food speak for itself:
- Dark surfaces (black slate, dark wood) make colorful sushi pop
- Negative space is your friend — don't overcrowd the frame
- Chopsticks and soy sauce as props add context without clutter
- Wasabi and ginger provide color accents — place them intentionally
- Mist with water to maintain the fresh, glistening appearance
For sushi menu photography, sushi photoshoot consistency matters. Every piece should look like it came from the same session, with matching lighting and backgrounds. This is where AI food photography excels — upload each sushi photo and apply the same style for a cohesive menu.
Photographing Different Sushi Types
Nigiri
Shoot in pairs or trios. The 45° angle shows the fish-to-rice ratio. Focus on the fish — it should be sharp while the background gently blurs.
Maki Rolls
Cut and arrange to show the cross-section. The spiral of rice, nori, and filling creates visual interest. Shoot at 45° or slightly above.
Sashimi
Fan slices on a plate with slight overlap. Sidelight to catch the translucency and fat marbling. Dark plates create the strongest contrast.
Sushi Platters
Overhead shots capture the full spread. Arrange by color — alternate salmon (orange), tuna (red), and white fish for visual rhythm.
AI-Enhanced Sushi Photography
Even with perfect technique, sushi photos often need post-processing to match the vibrancy you see in person. Colors can look flat, backgrounds may be cluttered, and lighting might be inconsistent between shots.
AI FoodShot handles all of this automatically. Upload your sushi photo, select a style that matches your restaurant's aesthetic — from clean minimal to moody fine dining — and get a professional result in seconds. This is especially valuable for Japanese restaurants that update their omakase menu daily.
FAQ
What is the best angle for sushi photography?+
How do you keep sushi looking fresh during a photoshoot?+
Can AI improve sushi photos?+
Ready to transform your food photos?
3 free photos, no credit card required. Professional results in seconds.
Try AI FoodShot Free →